This article was originally shared by Matt Shigekawa at www.operationMake.org.
Interested in Fully Automating your Face Shield Production on your Creality Ender 3 Printer? The below steps will help guide you towards your quest for a fully automated face shield production using Zoheir Cherifi’s Head Cage approach which doesn’t require any alterations to the face shield prints (ie adding a hook).
WARNING: This solution may cause damage to your 3D printer. Use at your own risk. This document is for informational purposes only in no way shall be interpreted or construed to create any warranties of any kind, either express or implied, regarding the information contained herein.
Items Needed
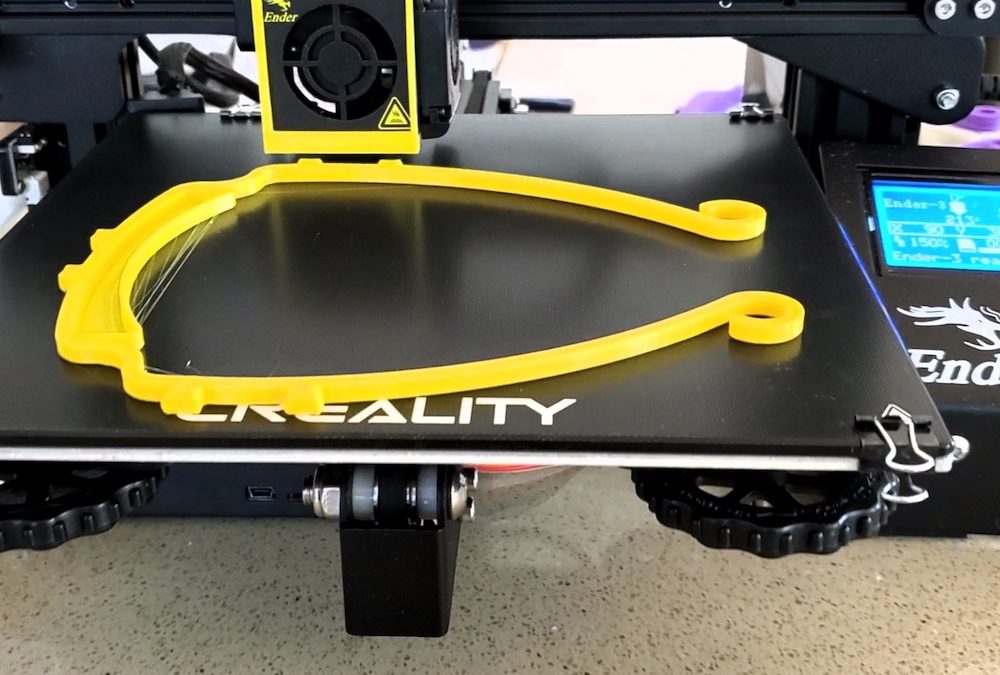
This automated solution was tested on the 3d Verkstan North America Style Face Shield using GST3D PLA+ printed on a Creality Ender 3 Glass Bed (non-textured side facing up) with a bed temperature of 60 degree and extruder temperature of 210 degrees. Using a glass bed is necessary because it allows the prints to pop off from the bed easier as the glass bed cools down. In this example we force the printer to pause for 10 minutes after finishing the print so the glass bed can cool down from 60 to 40 degrees.
- Creality Ender 3 or Ender 3 Pro
- Glass Bed (non-textured side facing up)
- Zoheir Cherifi’s Head Cage print
- Zoheir Cherifi’s Print Removal G-Code
- Face Shield G-Code
- Coding Text Editor (Notepad++, Text Wrangler, etc)
- ⅜” Binder Clips
STEP 1: Print the Ender 3 Head Cage
In this guide we are implementing Zoheir Cherifi’s Head Cage approach for pushing the completed face shields off of the bed after completion. Start off by printing out the head cage piece designed by Zoheir Cherifi here and attaching it to your Ender 3 head.
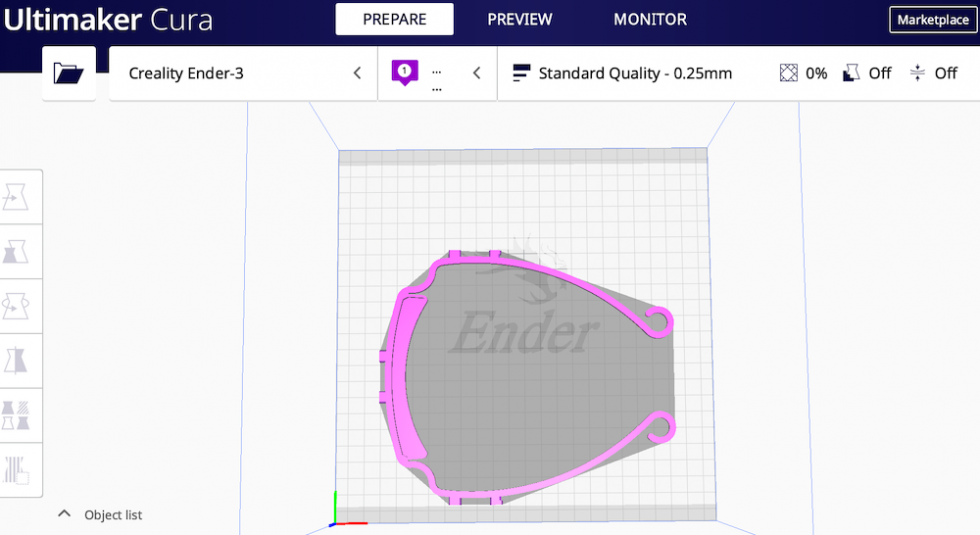
STEP 2: Slice Your Face Shield Model
Next carefully place your selected Face Shield model so it will eject correctly by making contact with the Ender 3 Head Cage and slice the file. For this example we used the 3D Verkstan Face Shield North America version.
STEP 3: Add Print Removal Code to Face Shield G-Code
Open your newly sliced Face Shield G-code with your favorite Coding Text Editor (ie Notepad++, Text Wrangler, etc), scroll to the bottom of the code and paste the following Print Removal code right after where you see the line: M140 S0 ;Turn-off bed
G04 S600; Wait 10 minutes
G1 X90 Y225 Z20 F3000; Move up and back
M300 S3520 P200;A7
M300 S4698.63 P200;D8
M300 S5274.04 P200;E8
M300 S6271.93 P200;G8
G1 X90 Y225 Z1 F3000; lower
G1 X90 Y1 Z1 2000; Remove print
G1 X90 Y30 Z1 8000; shake it
G1 X90 Y1 Z1 8000; shake it
G1 X90 Y30 Z1 8000; shake it
G28 ;Home
G92 E0 ;Reset Extruder
G1 Z2.0 F3000 ;Move Z Axis up
The above added code will force the printer to pause for 10 minutes after it turns off the extruder and bed heat allowing the print to loosen off the glass. After 10 minutes elapse, the print removal code activates and pushes the loosened face shield off of the bed and resets.
STEP 4: Looping the G-Code
After you run a successful print using your custom G-code, you can loop the code by copying and pasting your G-code multiple times in the same file. Another way to automate this is to add this file into a print queue. Be sure to check out our follow up tutorial Continuous Print Queue: An Easier Solution to 3D Printing Automation.
.
Enjoy the process!
Co-Founder operationMake.org